In order for the player to be optimally engaged, challenges should be presented at a level equivalent or slightly higher than their current skill. Not too easy, not too hard”(Gigity McD)
The word 'flow state' was coined by Csikszentmihalyi (1975) also known as being “in the zone” This is when the player is fully engaged in the game experience. Csikszentmihalyi put a lot of work into observing and analyzing various groups of people. This theory is focused on the idea of how people should balance their skills and the demands of particular tasks. An example of Flow would be a challenge in a game that interests the player such as a puzzle or a boss battle meant to keep the player interested and not get bored. Csikszentmihalyi also states that flow is related to an ideal psychological condition when a person engages in a challenge-skill activity, often resulting in concentration and a focused emphasis on a task.
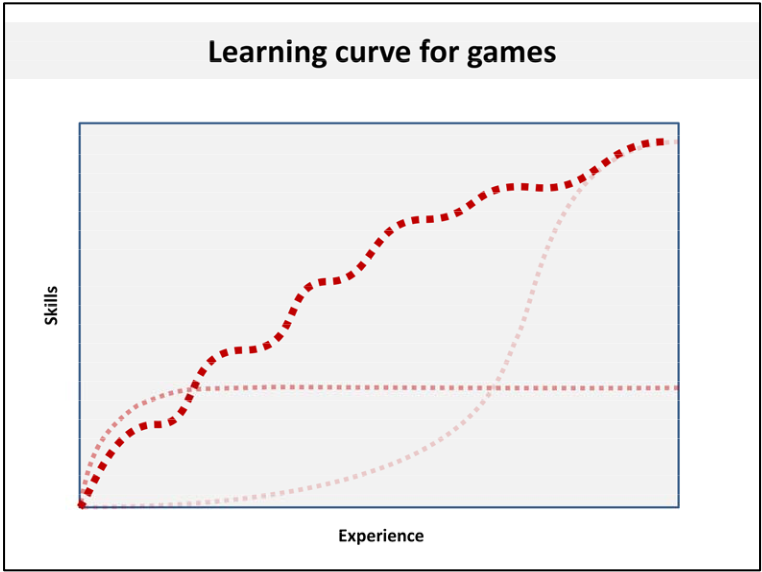
A practical technique for improving Flow is to look at what players like and find interesting, it is an invaluable resource as this will give you a better understanding of how to structure your game in a way it flows naturally without affecting the players’ experience and enjoyment. If the player has a high skill set and the game is not a challenge, the player will become disinterested and lose interest in the game. The game must allow the player to grow and learn with each challenge or obstacle so as to stay motivated to continue.
If the player has little to no skill set and the game is too challenging, then the player will become frustrated with anxiety and lose interest in the game as well. A flow chart helps to prevent the game from being too boring or too difficult(create anxiety) which makes the game more successful in terms of achieving Flow.
The x axis is the player's skill and the y axis is the challenge. When the player starts off, the challenges are easy in order to introduce the player to the game system. Overtime, this will increase the player's skill. After the player has progressed through the game the challenges get more difficult. This is known as the flow channel and is the ideal place to maintain the player in the flow state. If the challenges are too easy the player will become bored of the game. If the challenges are extremely difficult for the player, the player will get overwhelmed, frustrated or fed up with the game. This is the point where the player reaches the anxiety state of the flow map.
Studies have found Cook (2008) that there are both positive and negative consequences with game flow. The positive representing cognitive flow “composed of challenge-skill balance, clear goals, and unambiguous feedback,” and a negative element viewed as the emotional flow “composed of action- awareness merging, concentration on the task at hand, sense of control, loss of consciousness, and time transformation.” In the development of computer games, designers must be aware of these two characteristics when developing games.
References
Numinous.productions. Dan Cook 2008. Building A Princess Saving App. Available at: <https://numinous.productions/ttft/assets/Cook2008.pdf> [Accessed 9 November 2020].
McD, Gigity (14th June 2018). What is FLOW THEORY in game design? - The Basics - (Part 1). Game Design with Michael, https://www.youtube.com/watch?v=3H8pQyyXxHg [Accessed 9 November 2020].
Sanjamsai S, Phukao P. 2018 Flow experience in computer game playing among Thai university students. Available at: <shorturl.at/rtvGM> [Accessed 9 November 2020].
Comments
Post a Comment