
Unity Tutorial 4

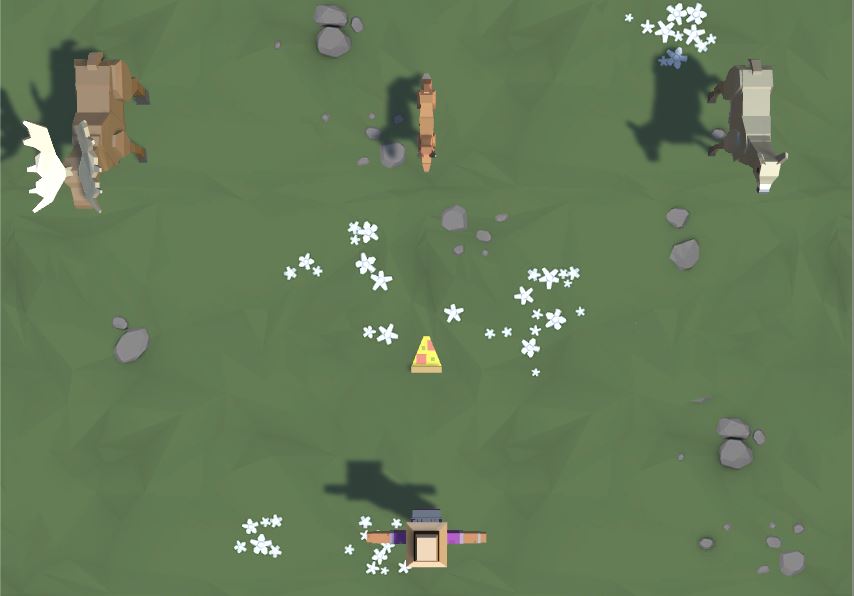
Image: Unity Prototype 2

What I learned from this tutorial was how to collide objects on Unity into other objects, so in this case the obstacle (the pizza) erased the other obstacles (the animals), also how to randomly spawn the animals at different intervals and positions and lastly triggering a "Game Over" message

What I enjoyed most about this was the creating the script  "DetectCollisions" which allowed me to add the destroy feature which actually helps it feel like a video game.

Challenge 2 


For this part of the tutorials I had to design a short game of "Fetch with a dog" and the name of this task "Challenge" lives up to it's name; the fixing of the c# script was really difficult. My main problem in this was the script of "SpawnManager" where I had to spawn the balls at different times and what I had an issue with for most of this task was actually getting them to spawn. I went over the last tutorial I did and found out I was missing the "int" feature to actually state the class I put the balls in. 

Overall I was impressed with my work and the tutorials came in handy for both tasks!
 

Comments

  1. Nice post Aaron I like the way you used the heading challenge to to show that its not all clear sailing with this unity stuff i look forward to another posts I'm going to read here. The way you got Straight into the info by saying exactly what the tutorial was about, very forward and Informing.

    ReplyDelete

Post a Comment

Popular posts from this blog

Tutorial 6

  Unity Tutorial 6 In this tutorial, I had to create a health-bar for Ruby, this was really a interesting way to learn how health-bars are made on Unity and creating one that came out really well was even better as it was in-sync with the c# script "RubyController" and "UIHealthBar" from the beginning. The use of a UI or User Interface was another experience, very difficult but helps the game stand out. Next what I had to do was create an NPC, a frog who ruby would talk to by coming up to them and pressing "X" and then a dialog box which was created using UI~ Canvas~ Text to display a message warning Ruby about the robot.  It was cool to learn how to interact with NPC's and allow them to speak to you or send a message. The method known as raycasting which is basically a collider lets this happen.

Tutorial 2

   Unity Tutorial 2: World Design For the second tutorial of the Unity tasks, after creating the tilemaps by splicing them and laying down the ground and the pavements in the games world, it was now time to decorate it. Using all the sprites provided, I laid the land out with trees, grass, metal boxes etc.  The physics system as it was suggested in the tutorials was the force of the movements from the characters within the game and controlling the gravity which pulls it down, the force applied from pushing and friction when moving on the ground. In this part, I mainly fixed the way in how Ruby moved throughout the world and what boundaries she couldn't move through. My favorite part was adding the tilemap collision, by selecting the tilemaps with water on them I was able to create a box collider without selecting them all individually and preventing Ruby from walking on water. I didn't struggle as much throughout these tasks I rather enjoyed them.

Tutorial 4

   Unity Tutorial 4 All the sprites and characters have now been added, all that was needed now is the aesthetic touch that will make this a proper well designed game. For the Tutorials 4 I started on the sprite animations towards the enemy/ the robot and this was a tough and long task. Creating a whole animation from scratch just for one of the sprites was very challenging but the outcome came out really great and the movement is perfect no lags. Getting the Ruby animation through the materials provided by the asset store was very helpful. Splicing the sprites has become a very common thing within building a 2D game, I was able to use each sprite that had the robots movement and join them together in the animator window so that the animation would get him walking up, down, left and right. Although the blend tree which would allow the robot to move in any kind of direction made this possible instead of being frozen in the one spot.